"Projects" at georgesbasement.com

Oufitting a Sebastian treadle lathe, continued
Part C. Making another necessary accessory, a crossfeed threading stop.
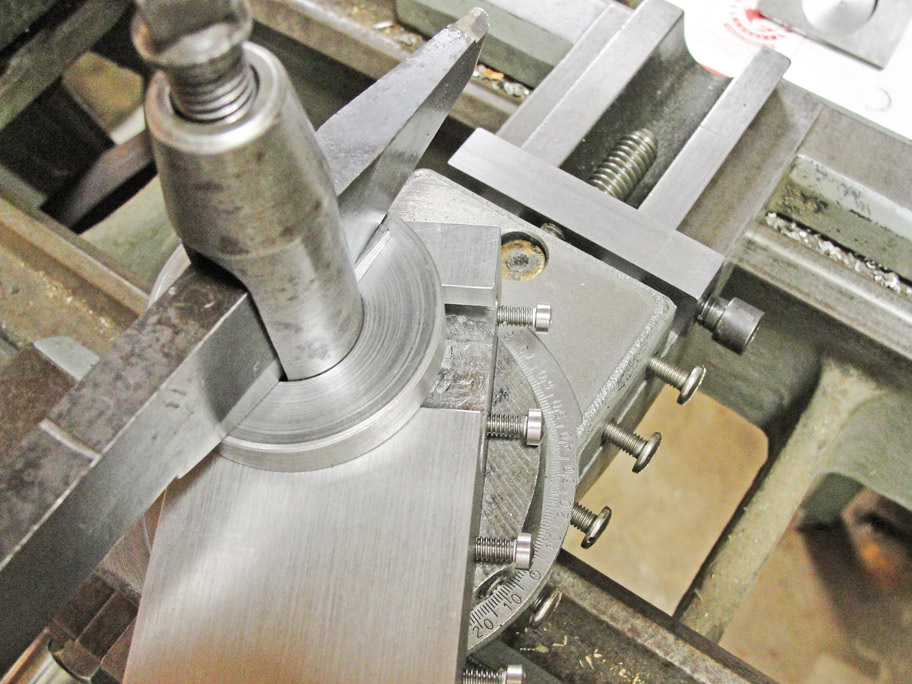
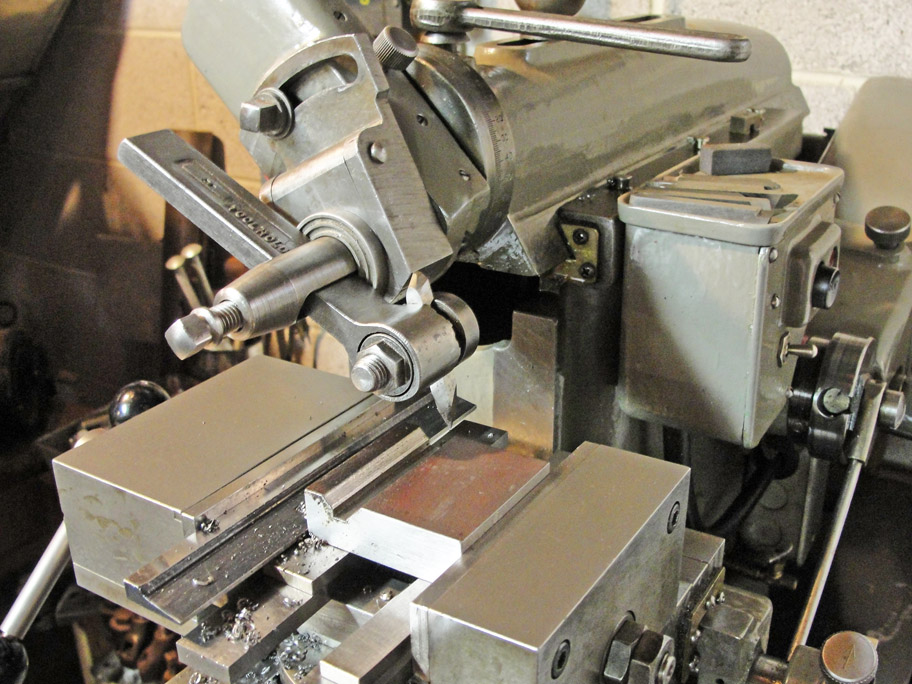
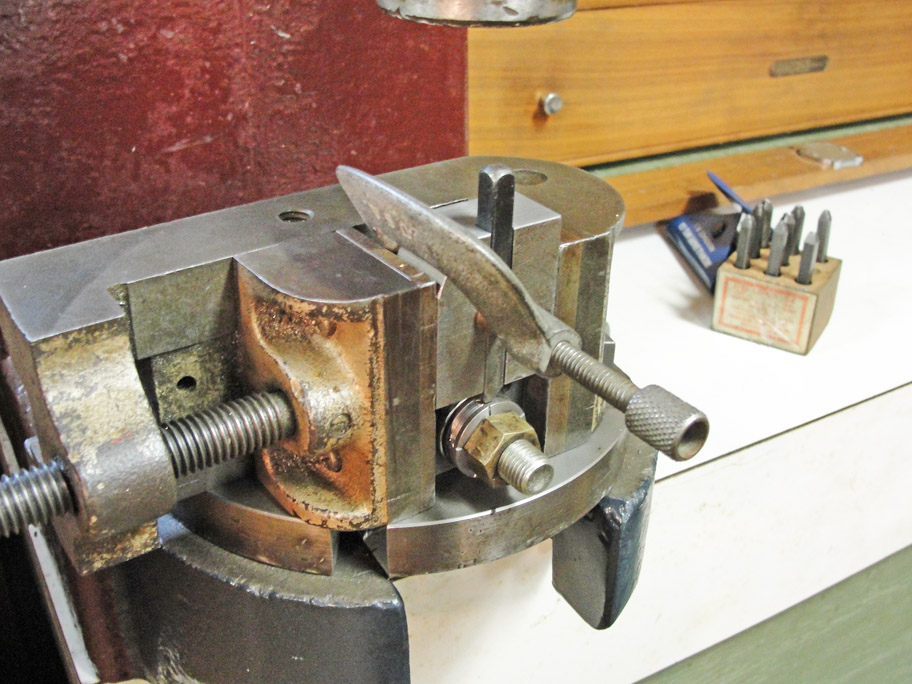
   The threading stop enables one to repeat the radial position of the threading tool after returning the saddle to the starting position.  The advancement of the cutting tool is done with the top slide of the compound set at 29 degrees to the work axis.
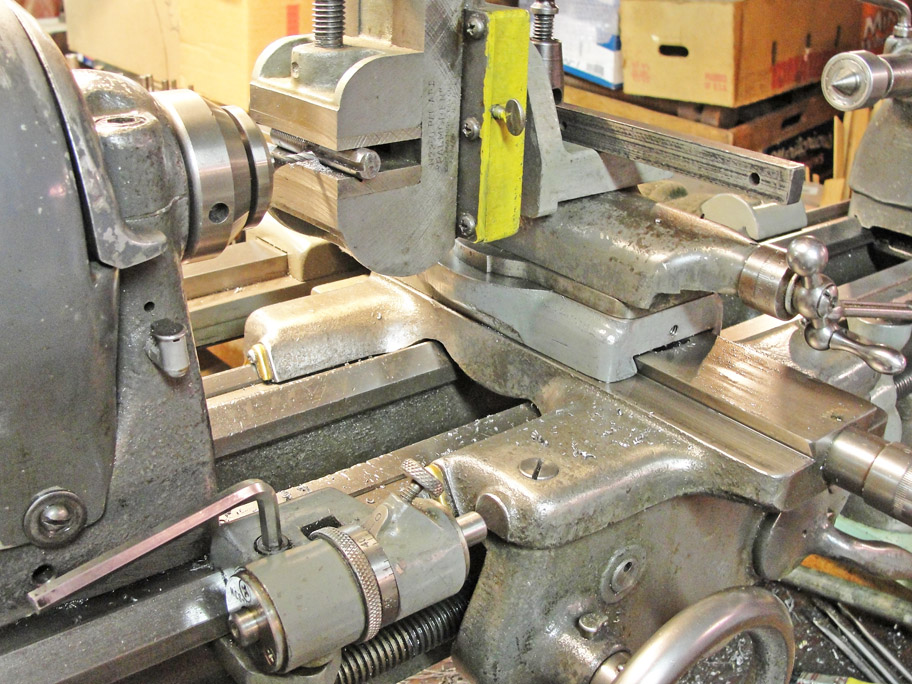
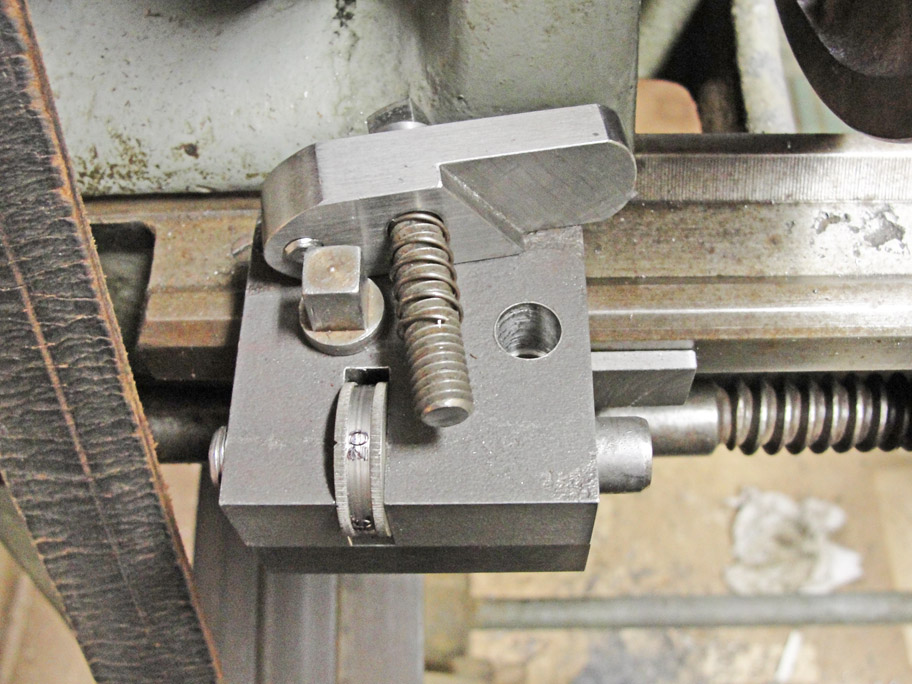
   My threading stop was patterned after the South Bend lathe's device, except that it sits in front of the crossfeed slide instead of holding it back from the handwheel side. This avoided my having to find a place for the screw otherwise required.
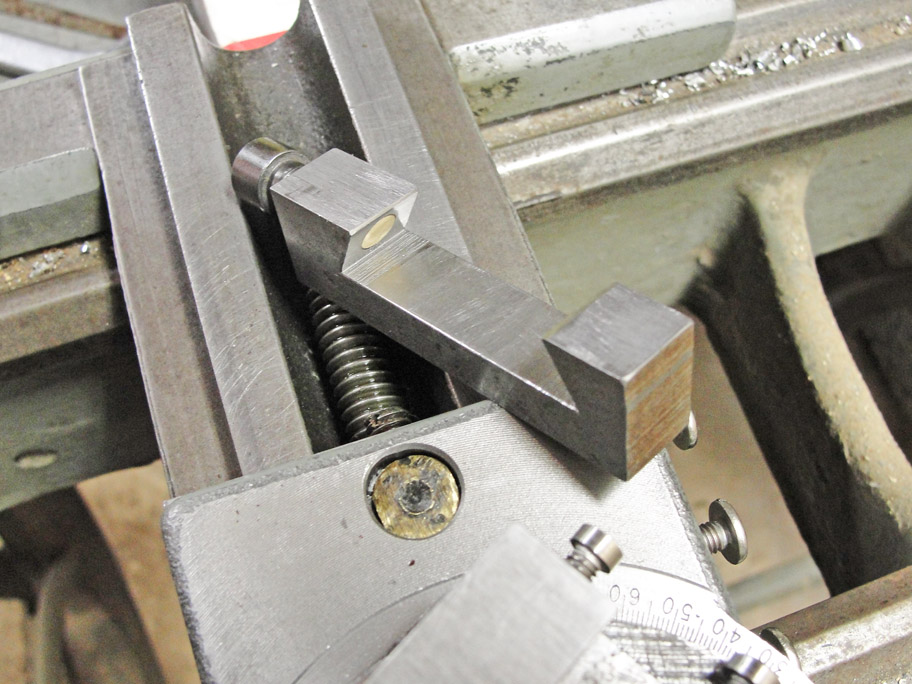
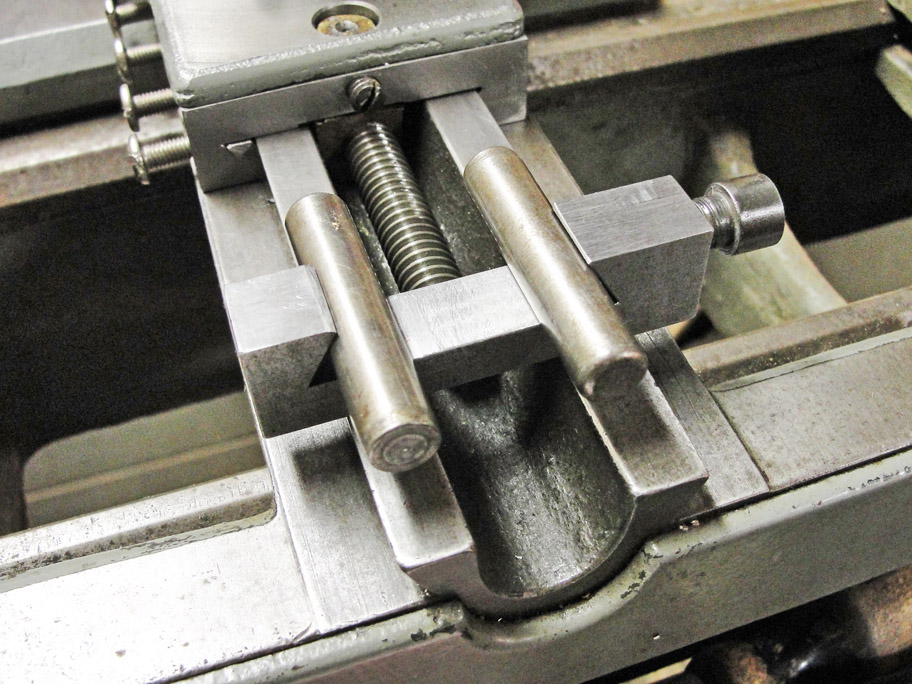
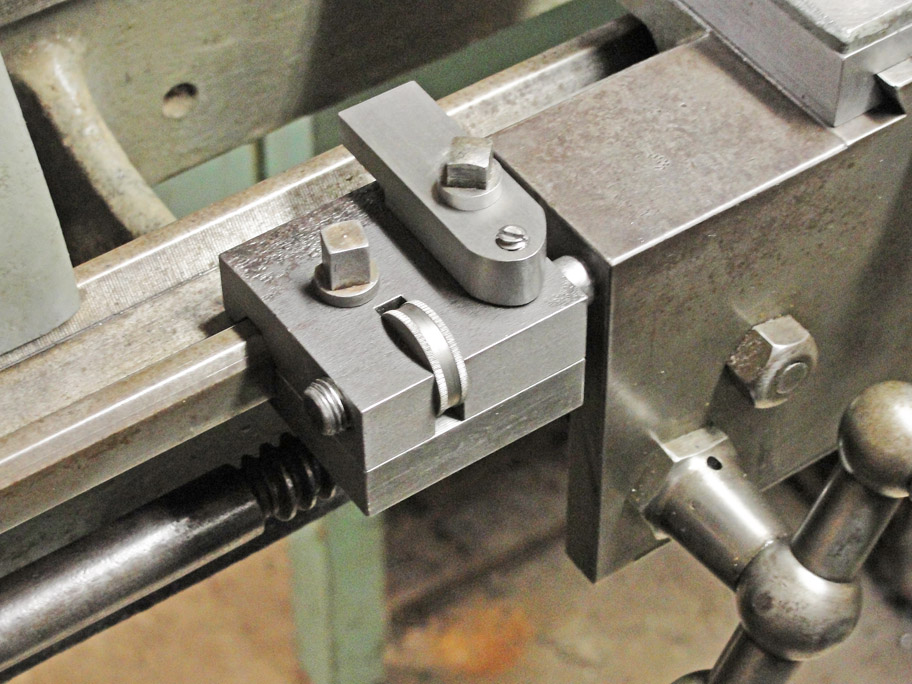
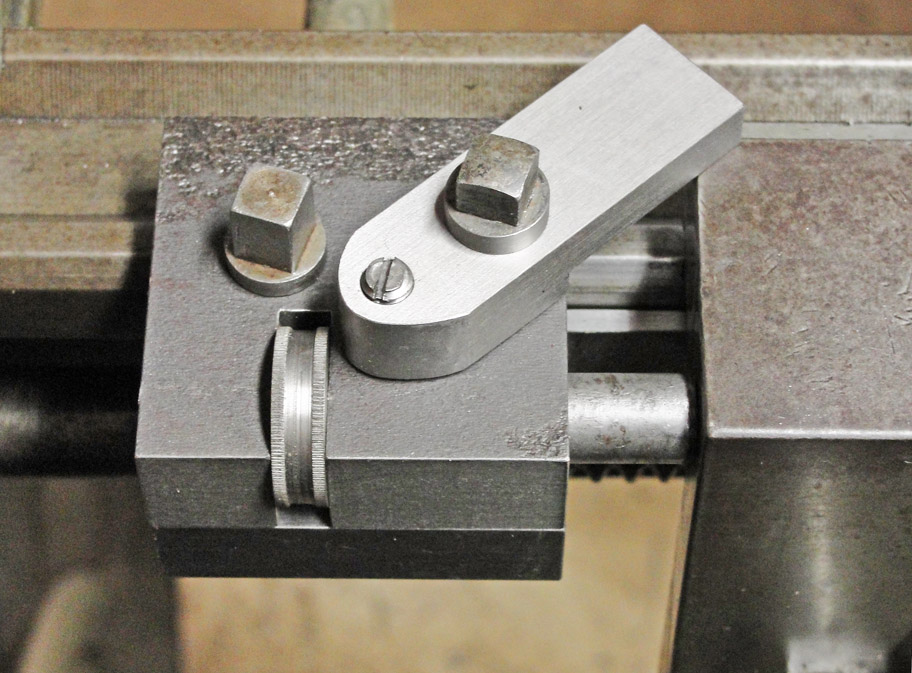
   The dovetails of the saddle are 3/8 inch high, so a pair of 3/8 inch steel dowel pins facilitates making the measurements of the fit of the male and female dovetails. The inside measurement (below) omits two diameters of those dowels.
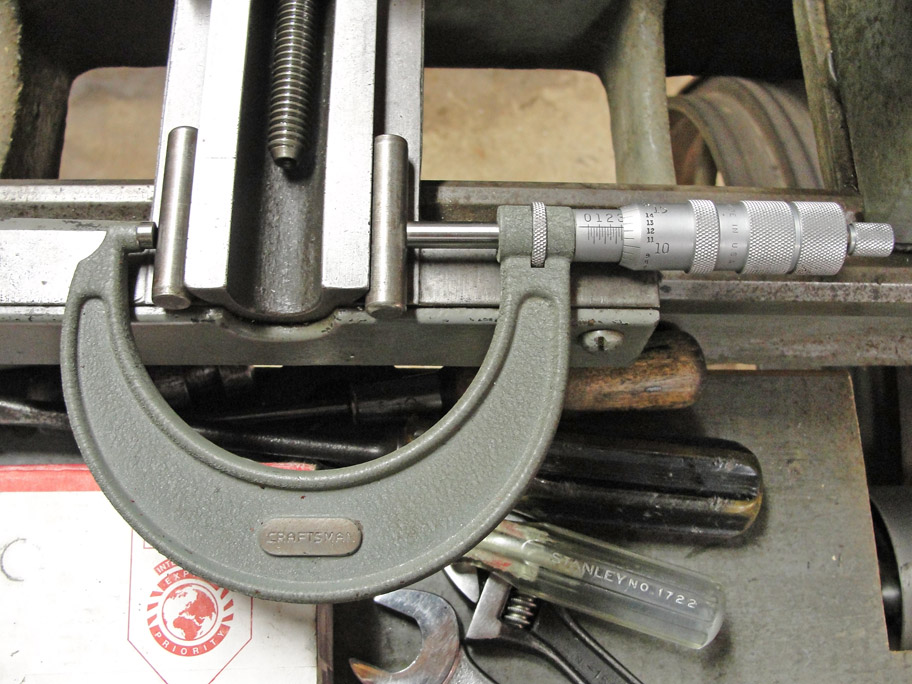
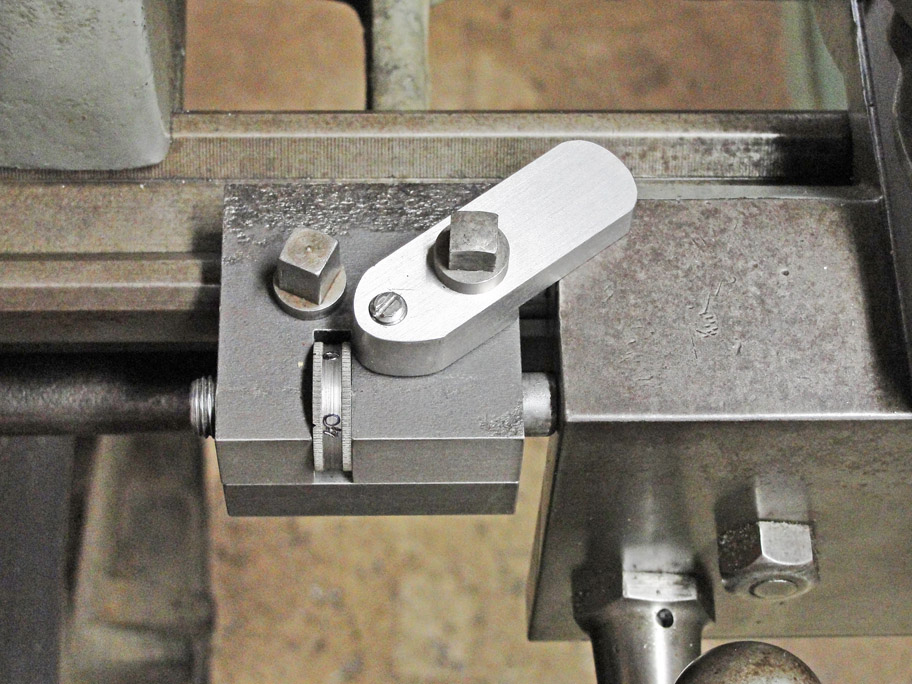
   The outiside measurement (below) incudes two diameters of the dowels. Once these diameters are accounted for, the inside & outside measurements compare directly without any sines and cosines.
Crossfeed threading stop
Crossfeed threading stop - upside down
Measuring the female dovetail
Measuring the male dovetail

Part D. Making the combined carriage clamp and carriage stop needed for machining parts to length.
   The shaper made it relatively easy to machine the Vee to match the lathe bed; the second side was done by turning the carriage stop end-for-end to ensure that the Vee would turn out symmetrical.
   The Palmgren milling attachment was quite rigid while cutting the 3/16 inch keyway slot in the headless 7/16-20 bolt used as the "micrometer" in the carriage stop. Note SB carriage stop in use !
   Here the stop is set to block the lengthwise motion of the carriage by tightening the left-hand square-headed screw and letting the clamp bar swing freely.
   Here the stop is set to control the lengthwise position of the carriage and the clamp is set to hold the carriage firmly.  Note that its micrometer wheel has now been numbered.
Machining the Vee of the carriage stop Cutting the keyway in the 7/16-20 adjusting screw
Carriage stop set to block carriage motion
Carriage stop set to clamp the carriage in position
Not shown: The carriage clamp works because its bottom portion extends underneath the carriage as seen here.
Numbering the dial of the carriage stop
   The numbering subpress is shown at left. First, I used the indexing centers of the Atlas lathe to mark five radial nicks in the side of the micrometer wheel, and then I used the vise to hold the subpress while I made the number markings with 1/16 inch stamps in my No.2 arbor press.

   Obviously, that's a 7/16-20 bolt that I'm using to hold the internally threaded wheel in the subpress.
Return spring for carriage clamp
   I "thoughtfully" counterbored the hole for the carriage stop's clamp screw, but then I couldn't find a suitable spring to fit in the small annular space between the screw and the hole.

   My solution was to apply a little metallurgy to the task. Starting with an undersized spring, I forced it onto a No.1 Morse tapered lathe center and then heated the spring gently with the flame from my propane torch until the center started to show a little amber color.  That caused the spring to relax the stresses in it without losing its spring temper. After two or three reversals of the spring, it finally fit the annular space exactly.
Lastly: Making the essential second slide that completes the improvements necessary for efficient screwcutting.